
Artisan pizza dough- crispy, chewy, bubbly crust
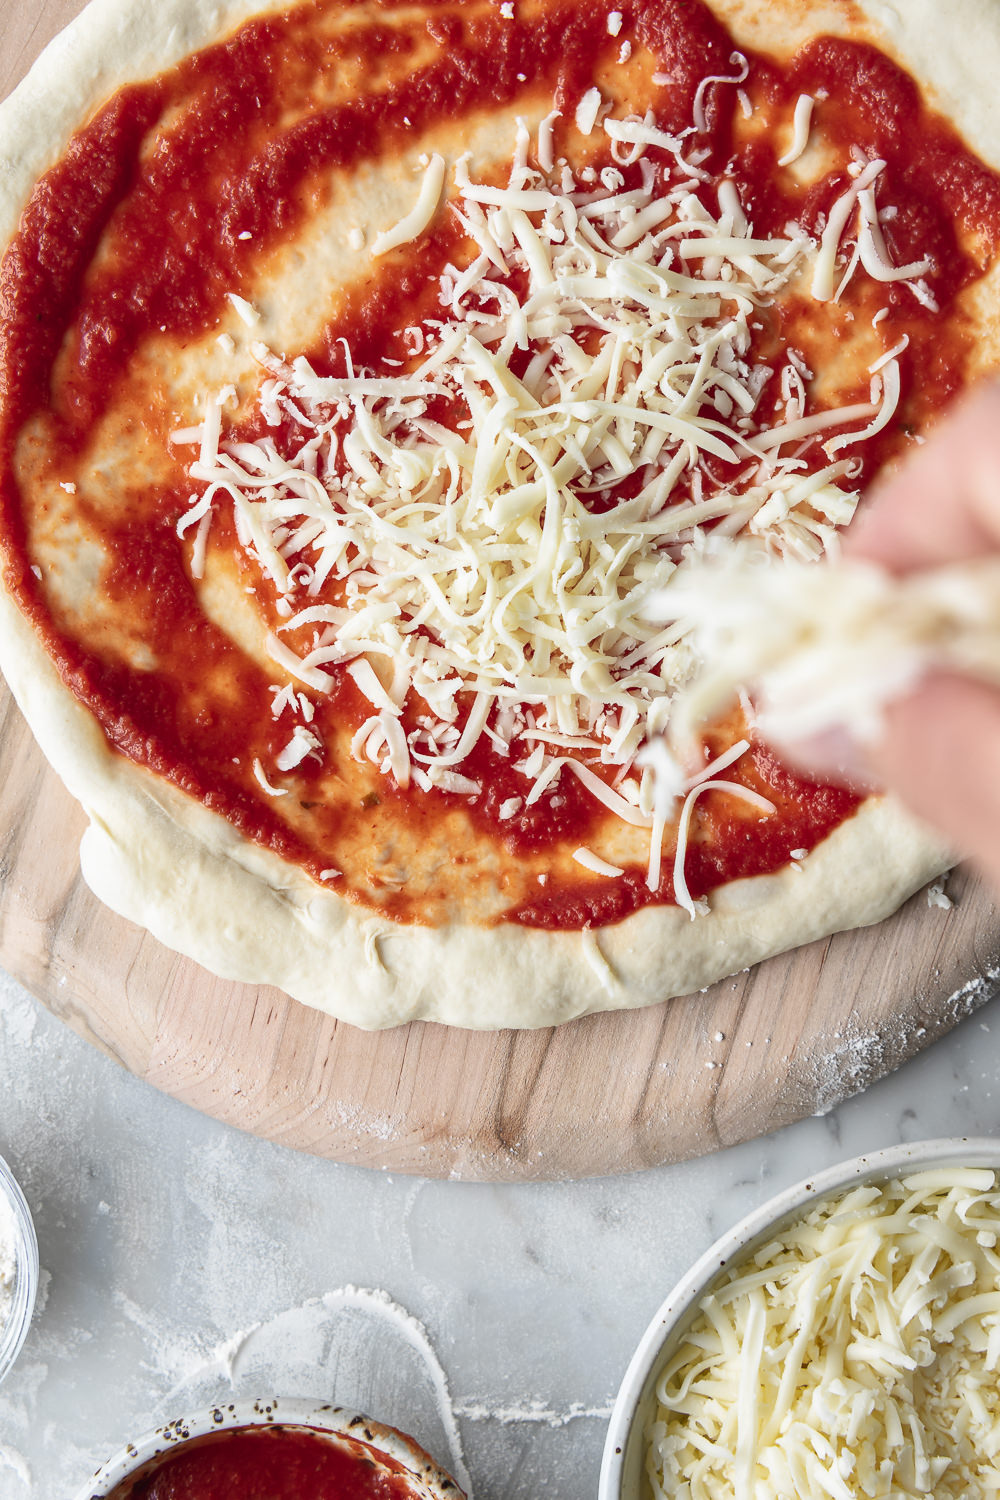
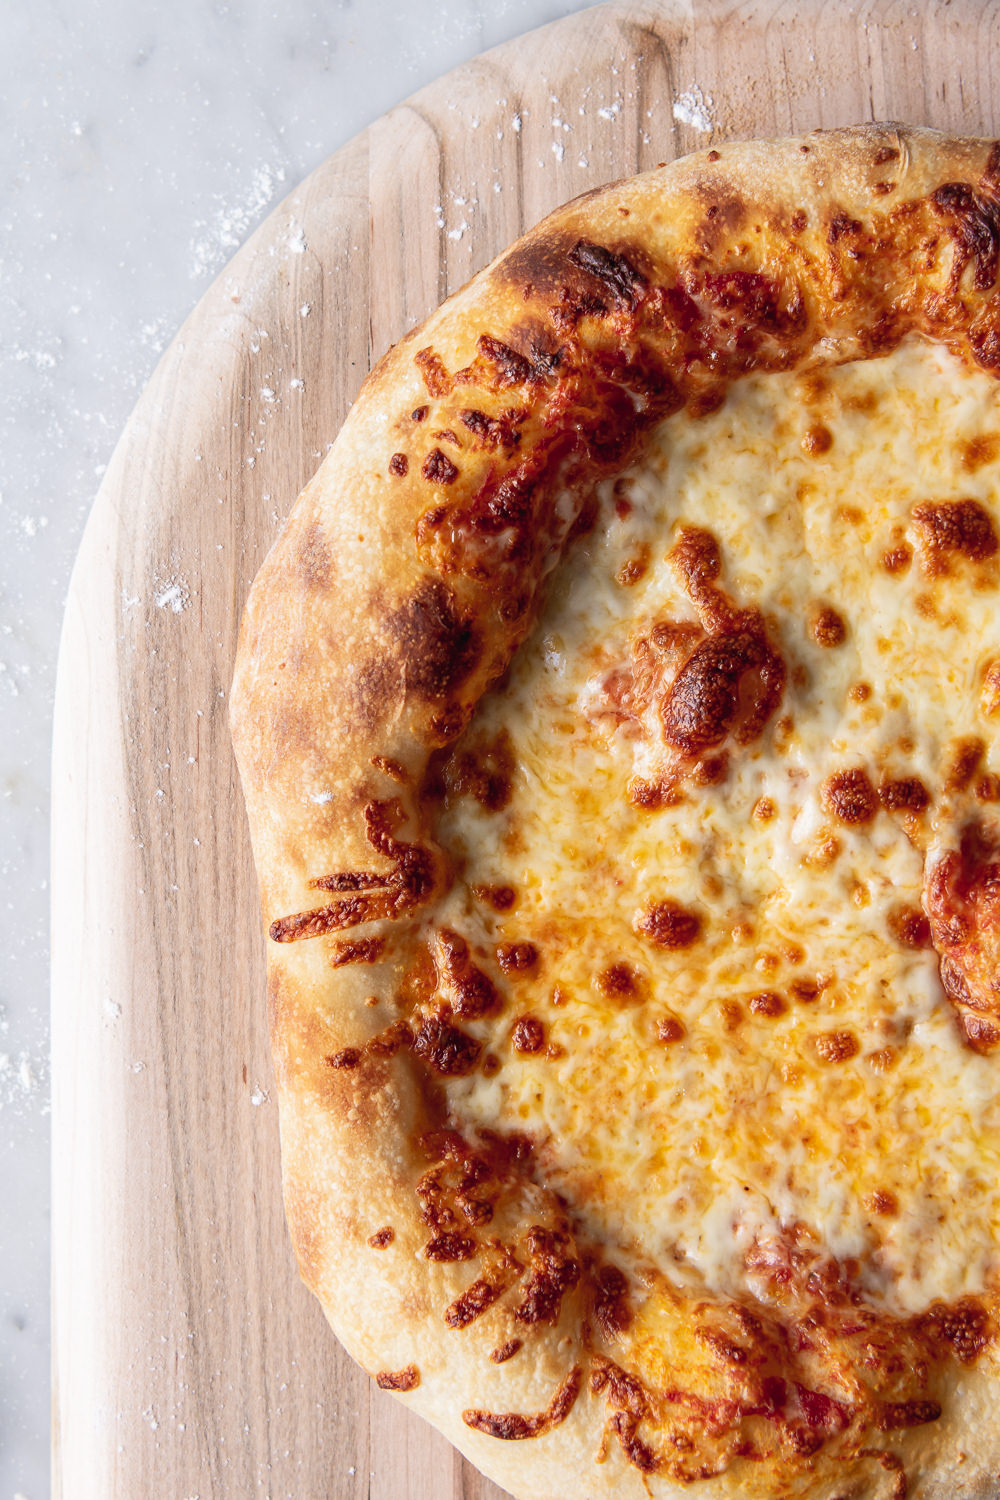
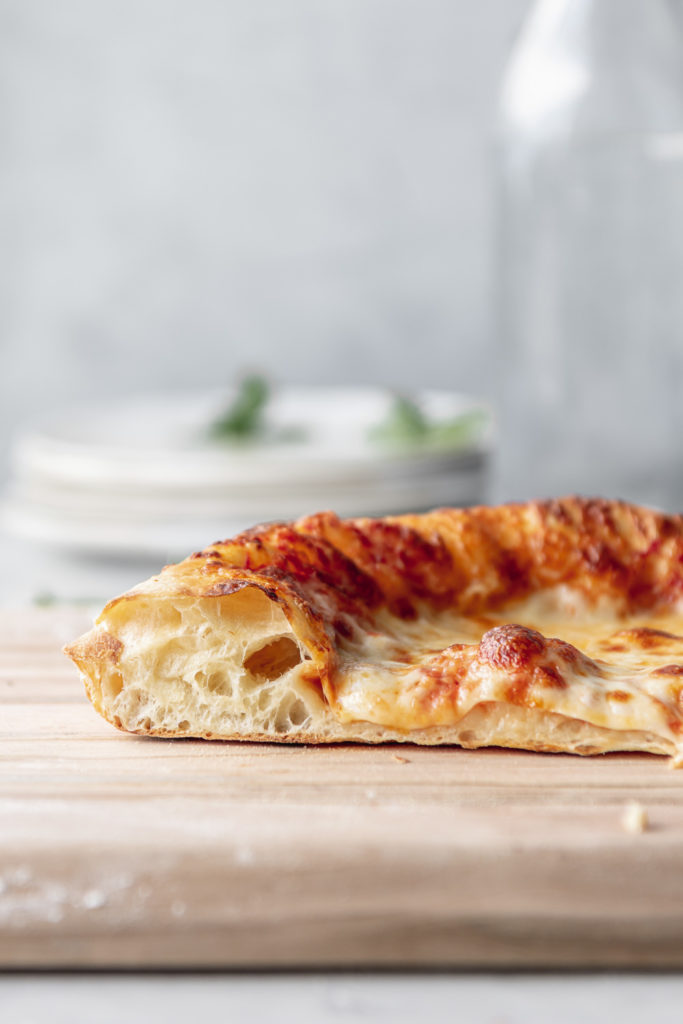
This artisan pizza dough will give you a billowy soft crust, blistered bubbles and a crispy bottom. It uses a high hydration and long fermentation time for maximum flavor and the perfect crackly, chewy texture. This post may contain affiliate links. As an Amazon Associate, I earn from qualifying purchases. I think it’s safe to say that pizza dough is one of the most important parts of a good pizza. The crust is the foundation (literally) of flavor and texture-- you should make it as delicious as you can. So what exactly does it mean to have the best pizza crust? For me, a great artisan pizza has a complex flavor, big bubbles, a creamy crumb and crispy edges. Believe it or not, you can achieve all of these qualities in your home oven with stunning results.
There are 3 big factors that contribute to the best pizza dough: High hydration dough: I prefer to use a dough that is around 75% hydration (the percent of water relative to the amount of flour). This will encourage a lot of gas bubbles, a chewy crust and a complex flavor. But the dough won’t be so sticky that it feels impossible to work with. The dough will also have enough structure to be shaped into a pizza and slid off the peel. Long bulk fermentation: a small amount of yeast and a slow fermentation will help develop flavor and strength. This pizza dough ferments for about 6 hours at room temperature. For maximum flavor, you can let it slowly ferment in the fridge for up to 2 days. A surface that can get really hot: This could be a baking steel, pizza stone, inverted baking sheet or cast iron pan, or even an unglazed tile. These surfaces are preheated in your oven to absorb as much heat as possible. The result is a gorgeous artisan pizza with a crackly crisp crust and spots of char.
Notes
Yes, high quality 00 flour will give you delicate flavor, chew, and delicious results. I'm a huge proponent of using the best ingredients I can find. But in the case of great homemade pizza crust, flour type comes second to the key techniques outlined above. If you can't find 00 flour, any good all-purpose flour will work just fine.
Tips for making artisan pizza dough
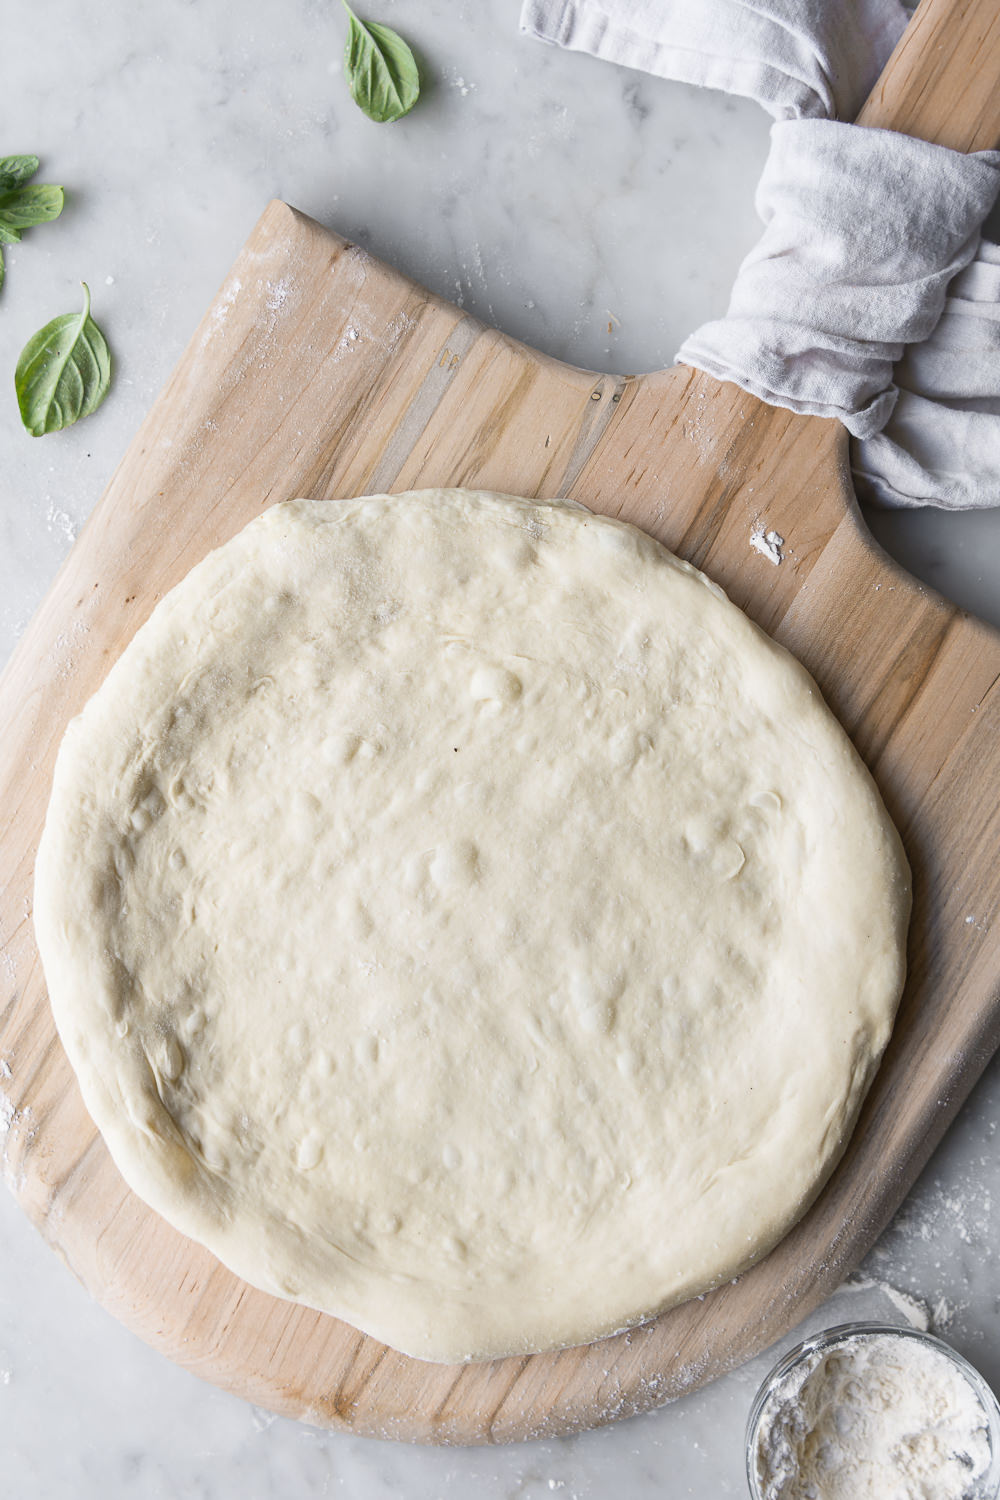
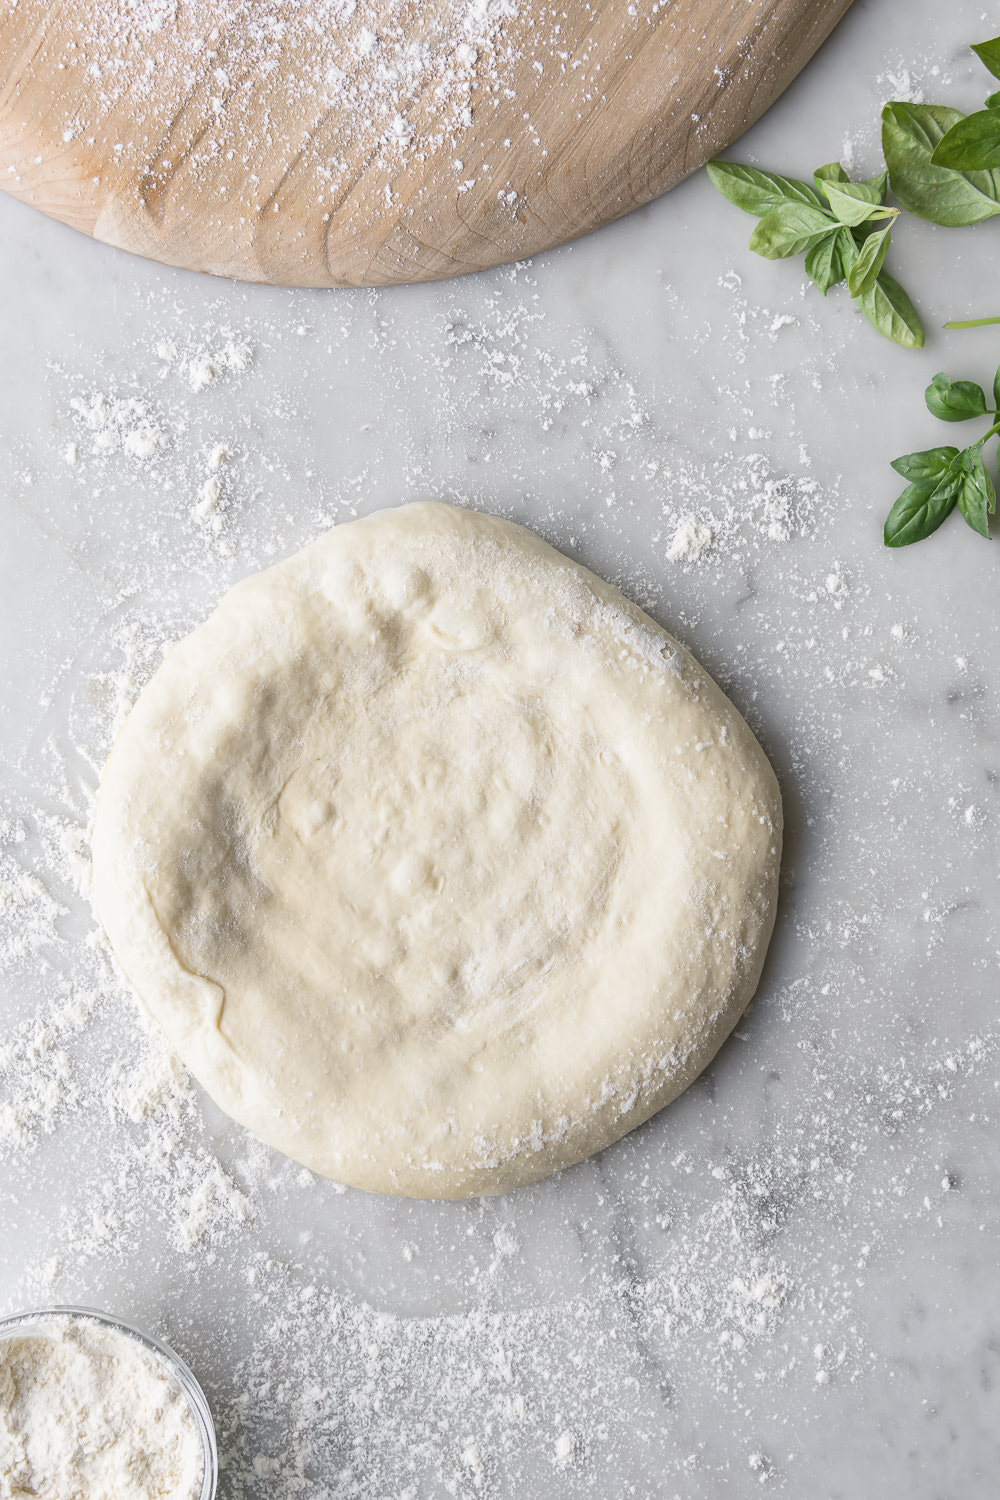
The high hydration dough is a huge part of what makes this crust so chewy, crispy and delicious-- but it takes some getting used to. It’s a wet, slack, sticky dough that may be a far cry from what you usually work with. Once you learn how to handle it (and taste the finished pizza), I promise you won’t look back to the denser doughs you’ve made in the past. Here’s what I’ve found to be the most helpful: Lightly wet your hand when you’re initially mixing the dough and performing the fold. This will minimize sticking and make the process much easier. The dough is “folded” one time, about an hour after mixing, to develop the gluten and give the dough some structure. No kneading in the traditional sense is performed. Lightly grease the bulk fermentation container to prevent sticking. Also make sure to lightly grease the shaped dough balls and the plate they’re stored on. This prevents a dry, tough skin from forming on the dough as it proofs, and it also minimizes sticking (especially if you plan on refrigerating the dough for a day or two). Water temperature and ambient temperature play a very important role in the timing of the bulk fermentation. Cooler temperatures cause a slower fermentation and a longer rise time, while the opposite is true for warm temperatures. In general, it’s best to watch the dough rather than the clock. Follow the loose timing guideline in the recipe, but make decisions based on how the dough is rising in your specific environment. To learn more about manipulating temperatures and to hone your bread skills, I highly suggest reading Flour Water Salt Yeast by Ken Folkish. I’ve adapted his bread techniques here and in a number of my favorite bread recipes-- he’s the king of artisan baking. Here’s a great video on how to shape the dough into a ball. You want to create enough tension that the ball holds its own shape, but you don’t want to overwork it and lose much of the gas that has built up. make the best homemade pizza sauce for the ultimate artisan pizza! flour, yeast, salt, water adding yeast to dough pinching through dough to mix yeast and salt rough dough after mixing yeast and salt smooth dough after one-fold shaping artisan pizza dough Watch
Ingredients
For the artisan pizza dough- crispy, chewy, bubbly crust
- 500g (3 ¾ cups plus 2 tbsp) all-purpose flour
- 375g (1 ½ cups water plus 2 tbsp) warm water, divided
- 1g (¼ tsp) active dry yeast
- 10g (1 ½ tsp) fine salt
Instructions
- Preheat the oven: Heat your oven to 500°F (45 minutes).
- Make the dough: Mix flour and all but 1 tablespoon of the water in a large bowl until just combined, then cover and set aside for 20 minutes to rest. Sprinkle yeast over remaining warm water and set aside to dissolve.
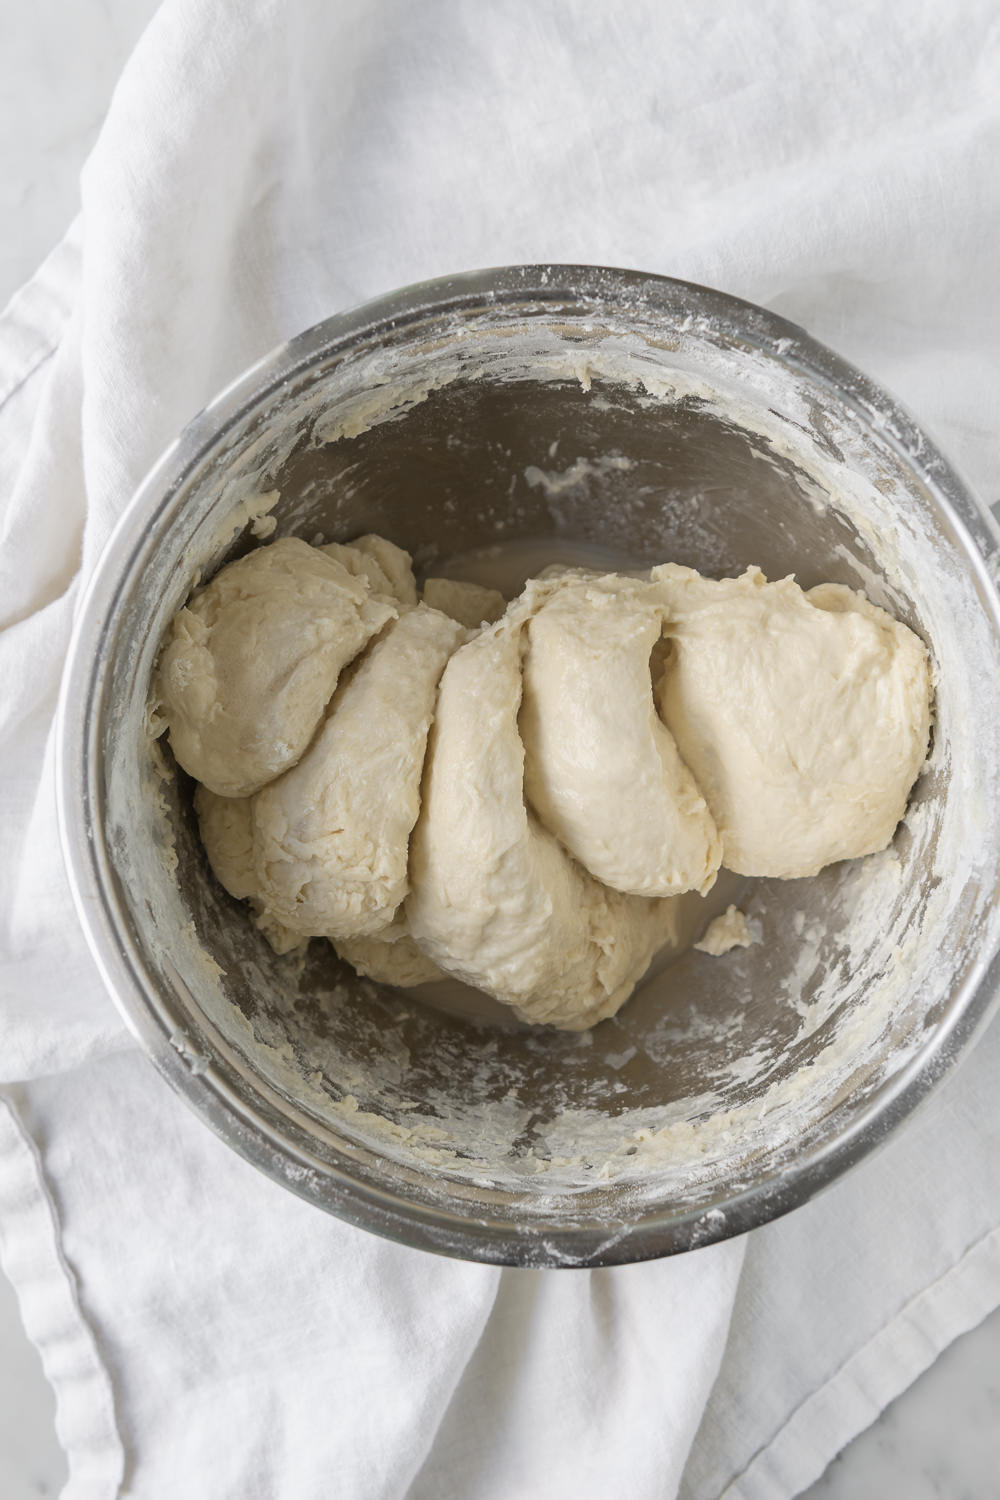
- Sprinkle salt: Sprinkle salt over the surface of the dough. Stir yeast mixture and pour over dough. Fold the dough: lightly wet your hand, reach under the dough, and stretch a section of it over the top. Repeat until the center of the dough is covered. Then, using your thumb and fingers as pincers, squeeze and pinch off 5- 6 chunks of dough. Wet your hand to minimize sticking. Fold the dough over itself a few times. Repeat pinching and folding until the yeast and salt are fully mixed and a shaggy dough is formed. Cover the bowl and lest rest about an hour. .
- Fold the dough: Fold the dough one time to develop the gluten: lightly wet your hand, reach underneath the dough and stretch up a section of the dough, then fold it over the center. Rotate the bowl and fold four to five more times, or until the dough has tightened into a ball. Take the entire ball of dough and invert it into a clean, lightly greased bowl, so the seam is down and the top is smooth. Cover and let rise until doubled in volume, 5- 6 hours.
- Floured: Turn the dough out onto a floured work surface and cut in half. Working with one piece of dough at a time, shape into a ball as follows. Stretch out a quarter of the dough just until you feel resistance, then fold it back over the center. Repeat stretching and folding the remaining three edges until the center is covered and a loose ball is formed. Turn the ball over so the seam is down and place it on an un-floured area. Cup your hands around the dough and gently pull it towards you, dragging the bottom along the counter to create a bit of tension. Rotate the ball 90 degrees and drag it a few inches towards you again. Repeat rotating and gently dragging until the top of the dough tightens up and the ball is round.
-
Transfer: to a greased plate and repeat with remaining dough. Lightly oil the tops, cover and let rest at room temperature for about an hour. Preheat oven at this time. If not using right away, cover tightly with plastic wrap and refrigerate until ready (for up to 2 days).
Example timeline:
9:00 AM: mix flour and water 9:30 AM: mix in yeast and salt 10:30 AM: fold dough and transfer to lightly oiled container for bulk fermentation 3:30 PM: divide and shape dough into balls. Cover tightly with plastic wrap and refrigerate until ready to use. It could be later that evening for dinner, or anytime in the 2 days that follow. As a bonus, I find the chilled dough is easier to work with!
Recipe adapted from With Spice Seasonal Recipes